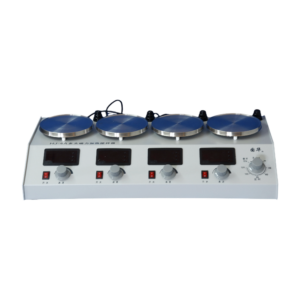
Setup
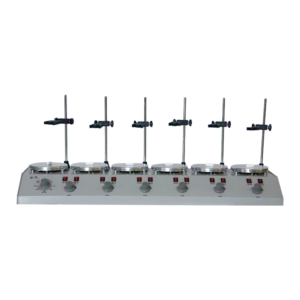
- Fix the support rod into the screw hole at the rear of the stirrer.
- Adjust the cross clamp height and secure the reaction flask.
- Place an appropriate magnetic stir bar into the vessel.
- Connect the power supply (AC 220V) and turn on the switch.
Stirring Operation
- Turn the “Stirring” knob clockwise to adjust the speed according to the digital display.
- For large volumes or viscous solutions, increase the stirring strength by turning the knob further.
Temperature Setting
- Press and hold the ▲ (increase) or ▼ (decrease) key to set the desired heating temperature (e.g., 100 °C).
- Green light ON: heating; Green light OFF: heating stopped.
- The microcomputer automatically adjusts heating power according to the temperature difference, ensuring smooth heating without overshoot and maintaining ±1 °C stability.
Auto-Tuning Function
- This function optimizes heating time and minimizes overshoot.
- To activate: press and hold the ◄ key for 5 seconds until the setting window flashes. After three temperature oscillations, flashing stops—auto-tuning is complete.
- Note: auto-tuning must be performed at the start of heating. Mid-process tuning is inaccurate.
External Thermocouple Use
- The rubber plug at the back protects the external thermocouple socket. Remove it to connect an external thermocouple.
- Insert the thermocouple plug, tighten the nut, and place the stainless steel probe into the solution for temperature control.
- When using an external probe, the internal sensor is automatically disabled.
Safety & Protection
- The stirrer has a thermocouple disconnection protection function.
- If the connection is poor, the display may show codes such as “1”, “hhhh”, or “Er2”; the green light turns off, and heating stops. Check the connection before resuming use.